How to make your content sound like you
If your content doesn't feel like your voice yet, that's completely normal.
Latitude learns your style from what you tell it - so when something feels off, it usually means your inputs just need a little tuning.
Quick checklist (start here)
Did you complete or update your strategy inputs during onboarding?
- Have you customized your AI prompt for this account?
- Are your tone and writing style settings aligned with how you actually write?
- When refining drafts, are you giving specific guidance to the AI?
Where your voice actually comes from
Your content style isn't coming from one place - it's shaped by three layers working together:
- Your strategy inputs (goals, audience, topics)
- Your AI settings + custom prompt
How you guide and refine drafts
If any one of these is off, the output can feel generic.
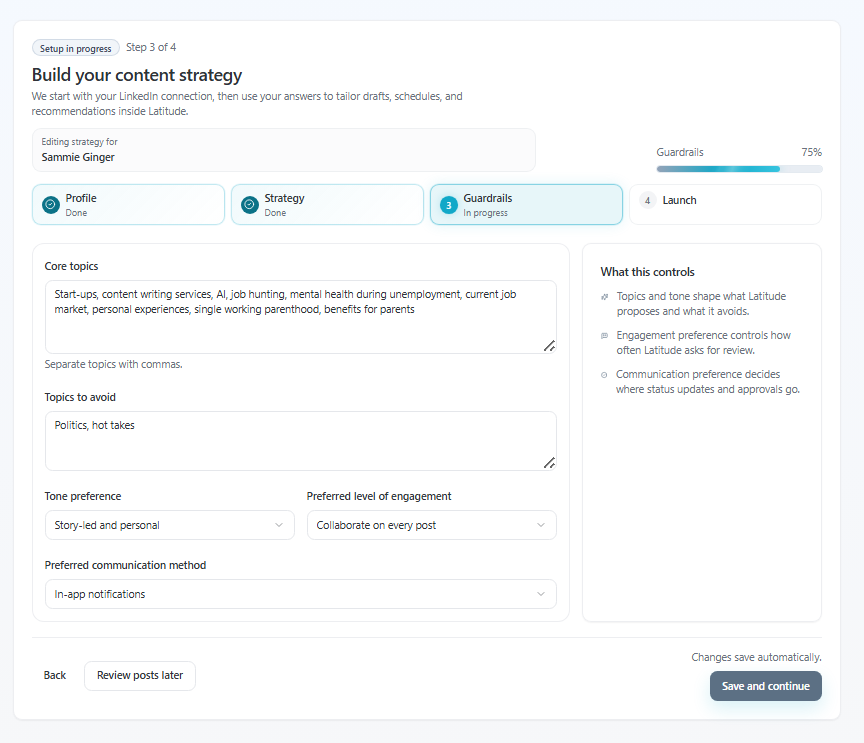
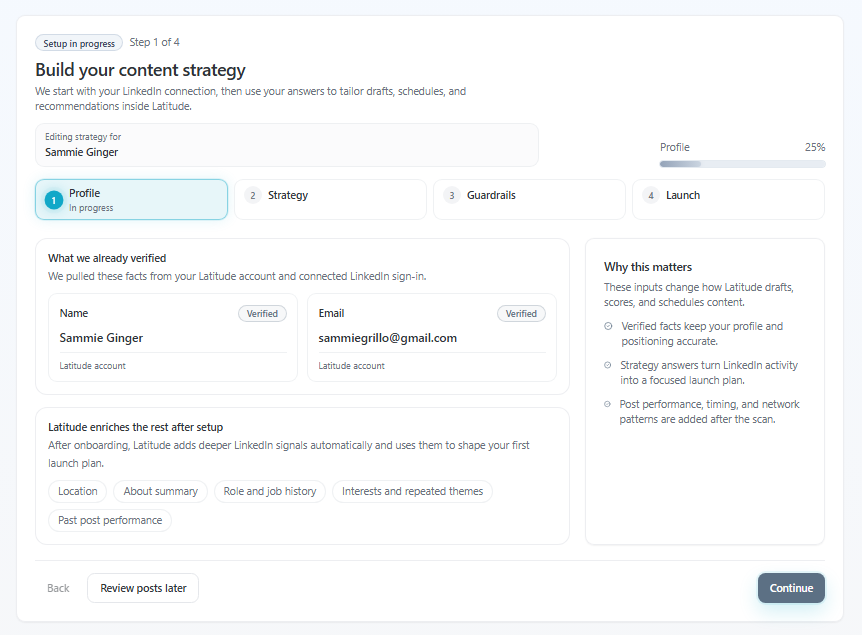
1. Update your strategy inputs (foundation of your voice)
During onboarding, you told Latitude things like:
- Your goals (job seeking, thought leadership, etc.)
- Your role, industry, and audience
- Your core topics and what to avoid
- Your tone preferences
These inputs shape what Latitude thinks is "relevant" for you.
If your content feels off:
Go to your strategy setup (Profile, Strategy, Guardrails)
- Adjust your:
- Core topics
- Audience
- Tone preferences
- Topics to avoid
Even small changes here can dramatically shift output.
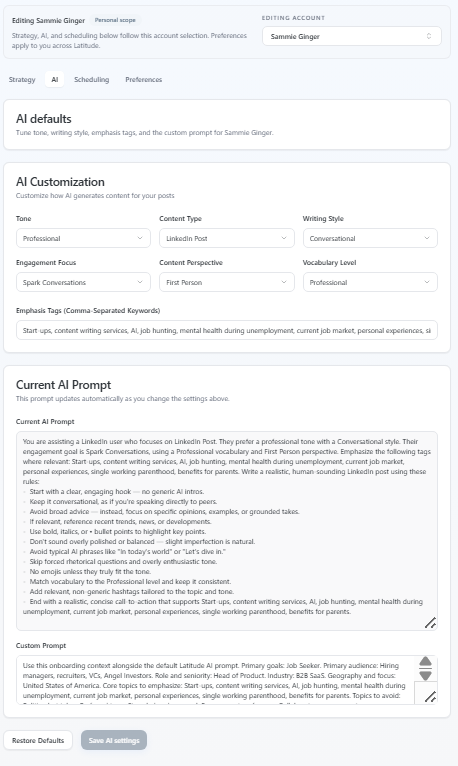
2. Customize your AI prompt (most powerful control)
This is the single biggest lever for making content sound like you.
Where to find it:
Go to Settings -> AI
- Scroll to Custom Prompt
This prompt tells Latitude:
- how you write
- how you think
- what your voice actually sounds like
Tips for improving it:
- Write like you speak, not like a brand
- Include specifics:
- "I write in a direct, conversational tone"
- "I use personal examples"
- "I avoid overly polished or corporate language"
- Call out what you don't like:
- "Avoid buzzwords"
- "Don't sound generic or templated"
Changes here apply immediately to new drafts for that account.
3. Adjust tone and writing style settings
Also under Settings -> AI, you can control:
- Tone (e.g. professional vs conversational)
- Writing style
- Perspective
- Vocabulary level
These apply at the account level, not per post - so they shape everything you generate.
If something feels off consistently, this is a good place to check.
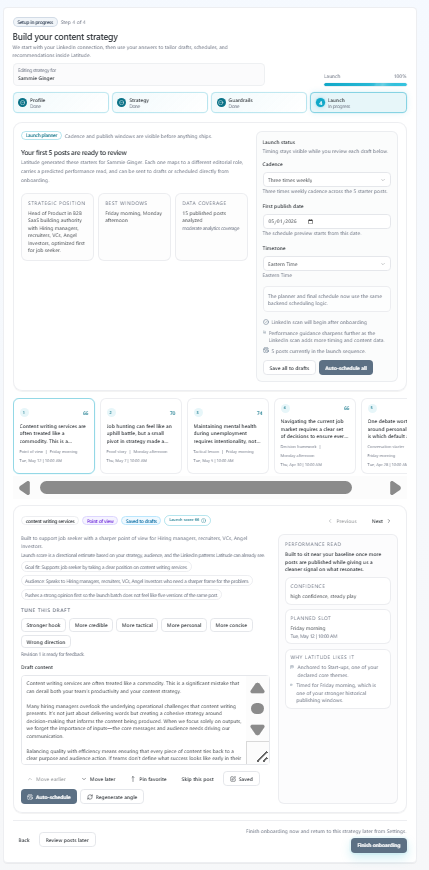
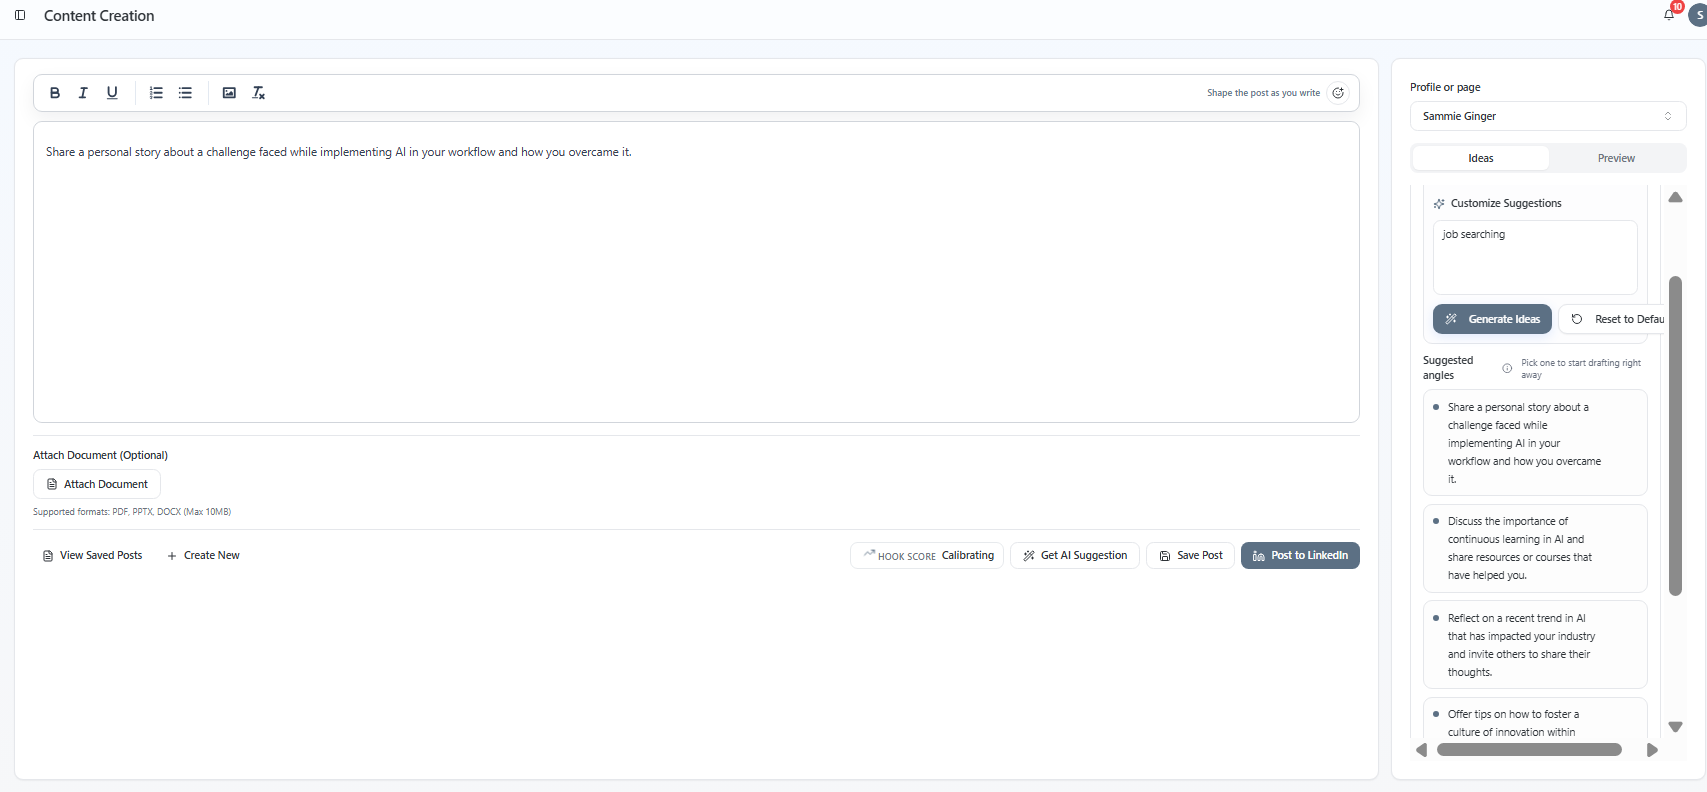
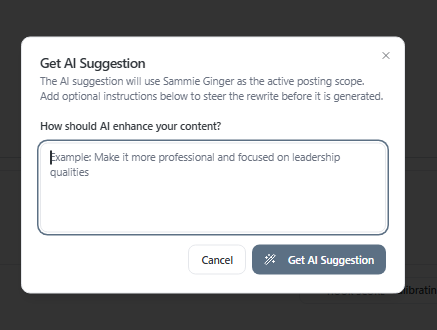
4. Refine drafts using AI (where it really comes together)
Inside Content Creation, you can shape drafts in real time.
When you click Get AI Suggestion, it rewrites your draft based on your input.
How to get better results:
Instead of:
"Make this better"
Try:
"Make this more direct and personal" "Add a stronger opinion" "Make this sound less polished and more like a real story"
You can also:
- Leave it blank to explore different directions from a topic
- Iterate multiple times until it feels right
Each pass gets you closer to your voice.
Why content can feel "generic" at first
This usually happens when:
- Strategy inputs are too broad
The custom prompt is still default or light
Draft feedback is vague
Once those get more specific, the content becomes noticeably more personal.
One important thing to know
Your settings are applied per LinkedIn account.
If you manage multiple accounts:
Each one has its own prompt
- Each one has its own tone and strategy
So if one account feels "off," you'll want to adjust that specific account's settings.
Still not sounding right?
If you've updated your inputs and it still feels off, you're very close - it usually just needs one more round of refinement.
Try:
- Tightening your custom prompt
- Giving more specific rewrite instructions
- Leaning more into personal context and opinions
If you want help tuning it, support can help you dial it in quickly.
Screenshots if needed